No doubt you’ve all heard by now how good fermented foods are for you, for your gut health, which science is now discovering plays an incredibly significant role in your overall health and wellbeing.
Looking into the types of fermented foods that are espoused by Those In The Know, I considered sauerkraut to be the easiest one to attempt myself (besides natural yoghurt… which I already make… But my sourdough bread attempts haven’t been ultra successful) 
So, Googling in my usual style, I discovered the basic elements for homemade sauerkraut. And they are cabbage and salt. Yep, that’s all folks. Of course you can add things in for variety and taste – like other veggies, herbs and spices, even extra probiotic cultures – but on the whole I usually stick with the basics.
It’s ridiculously easy. The hardest part is waiting for it to become edible: waiting out the fermentation period.
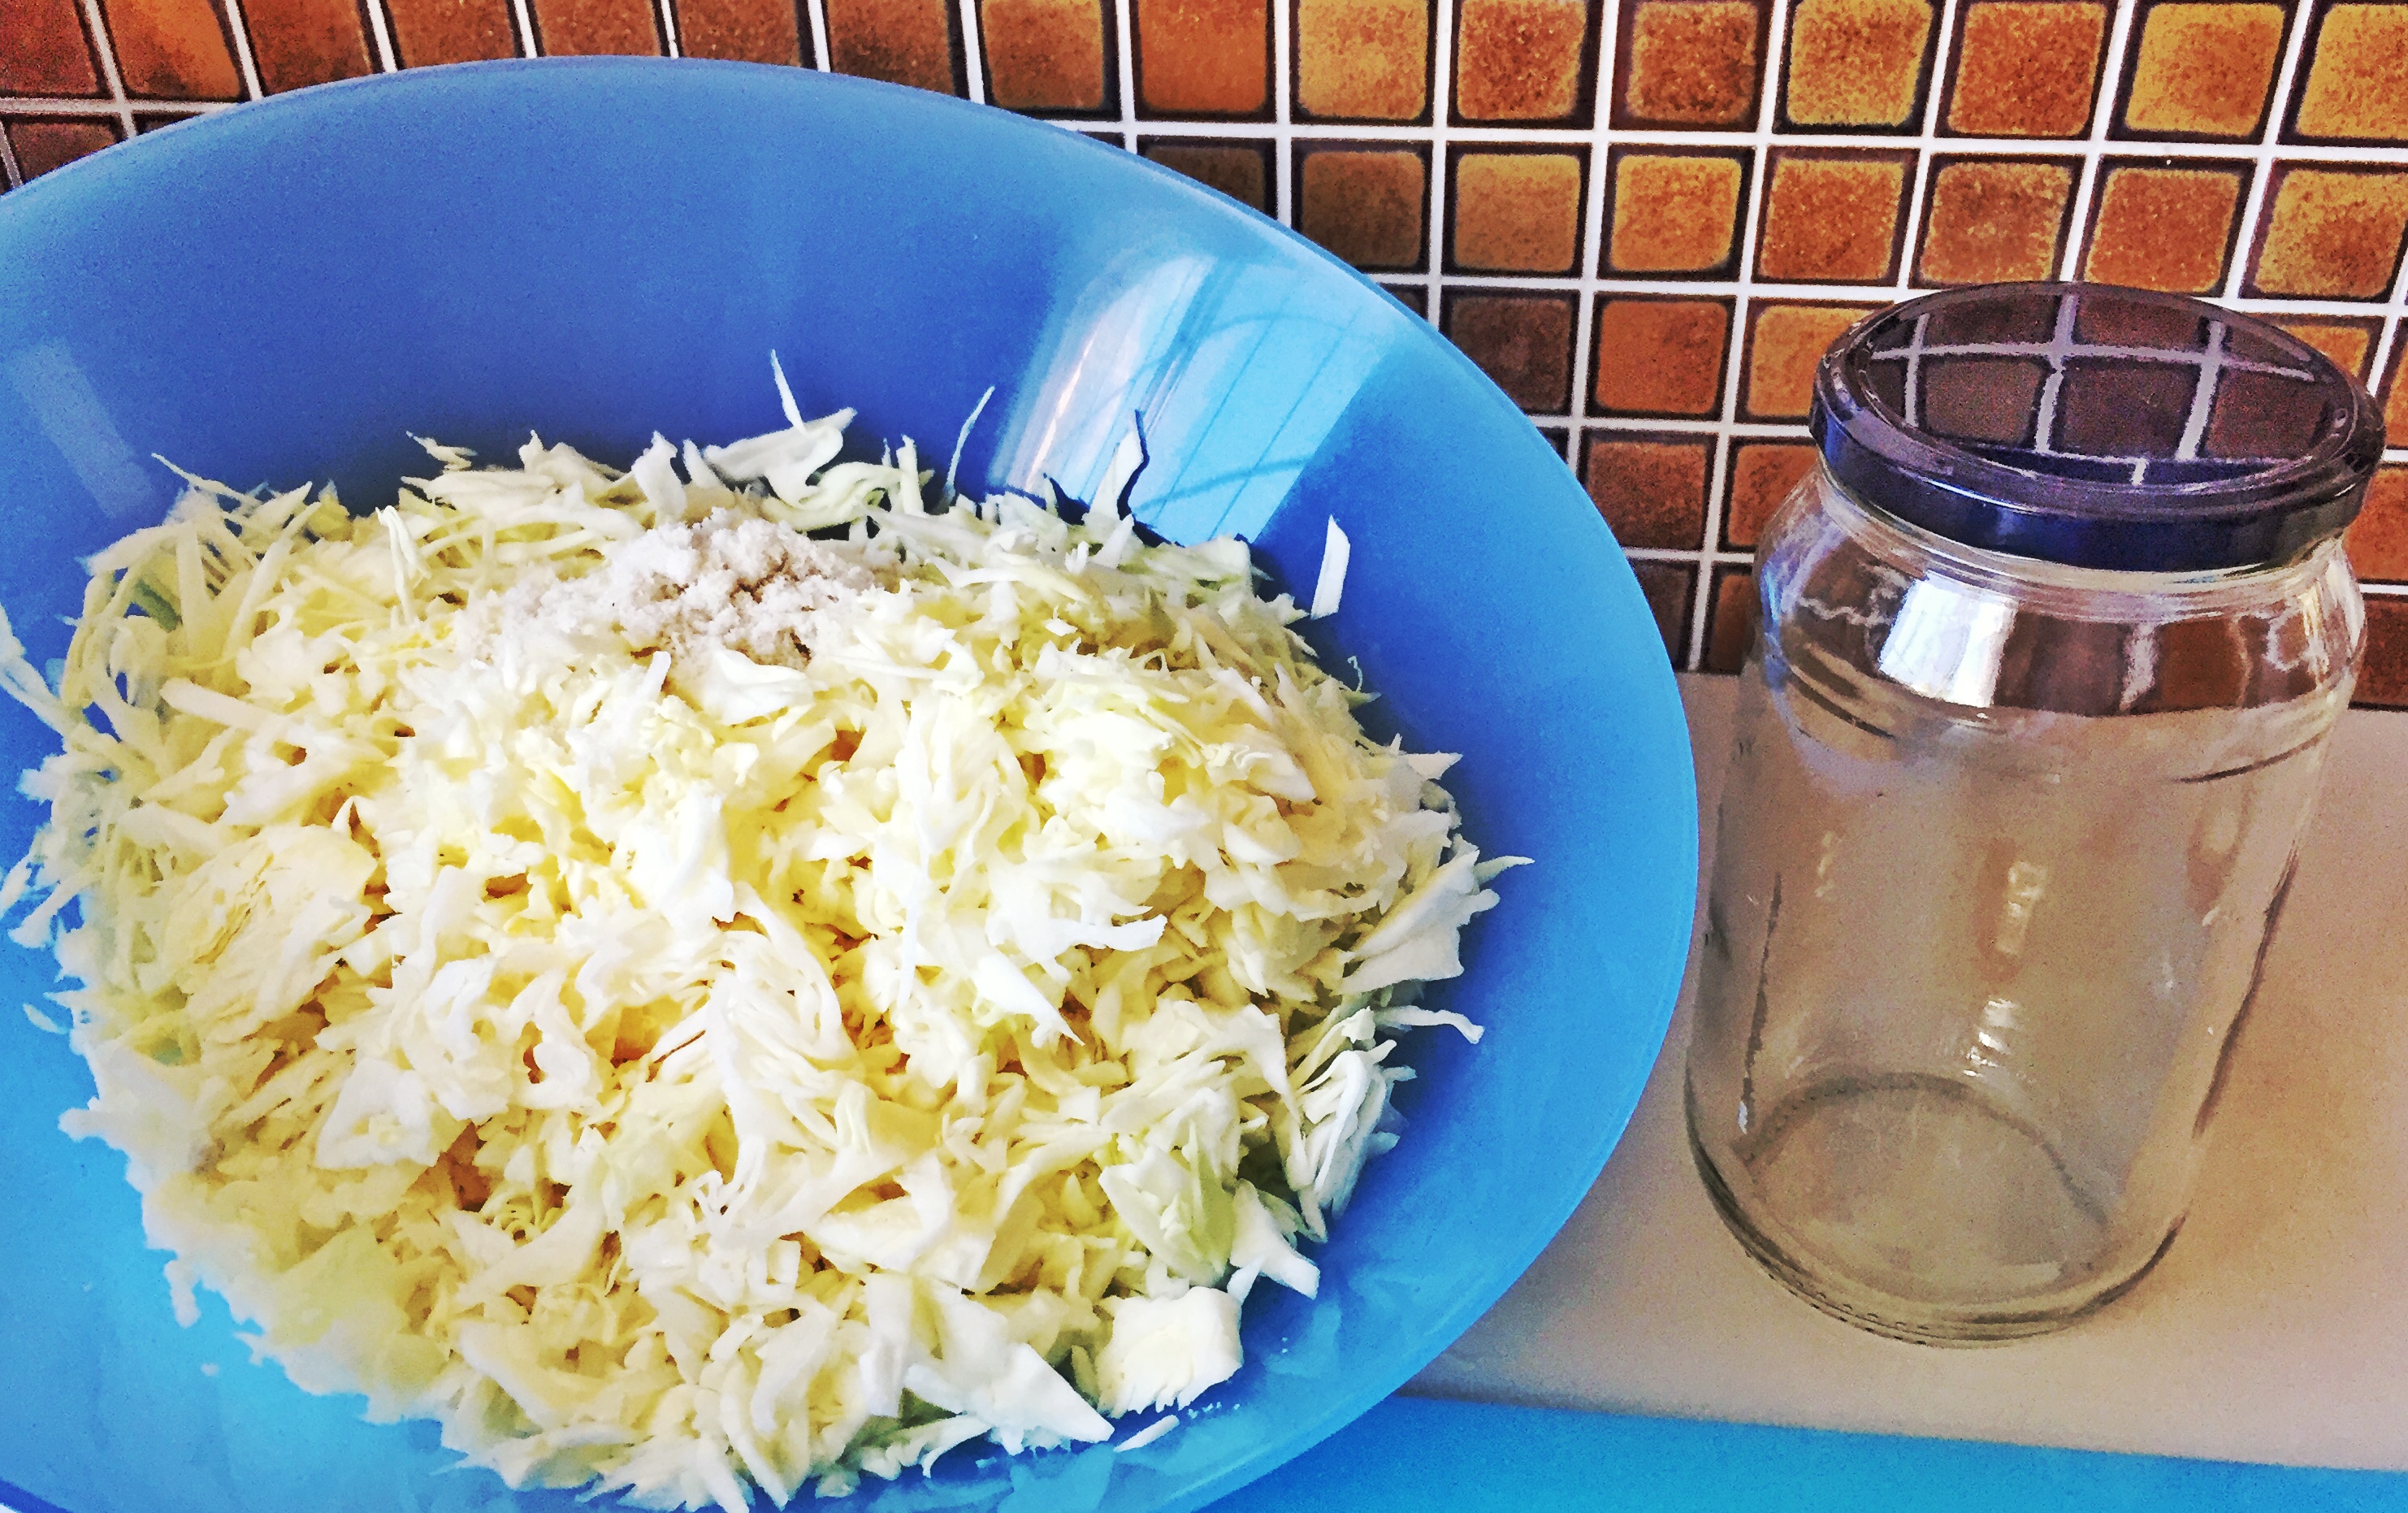
You can buy special equipment for the process (this can ensure better success) but I literally began with a 1 litre glass jar. An ex-coconut oil jar (pictured right). No frills whosoever. (Except that it had to have a mouth that I could fit my hand into; that’s imperative …you’ll see why.)  If, however, you end up liking and wanting to continue production after your first test batch, I’d highly recommend at the very least purchasing a jar with a proper rubber seal, such as the one pictured left.
 Luckily for me, a very inventive friend made a couple of purpose-built jars (equipped with beer brewing parts that allow oxygen to escape but not enter, for a more sterile environment) and gave them to me (pic right) so I can make ‘kraut til the cows come home 😛
For a 1 litre container you’ll need 1kg of cabbage (about half of a large head) and 1 tablespoon of salt (I opt for Celtic sea or Himalayan for the higher trace mineral content). When I remember, I pop a bay leaf in too. Note: if you’re trying this for the first time and fear failure (don’t worry, I often do too) simply halve the amounts and the jar size. That way there’ll be less to throw out if (1) it fails or (2) you decide you don’t like it!
Step One: Peel off some of the outer leaves of the cabbage and set them aside… don’t discard, we’ll be needing them later.
Step Two: Simply shred the cabbage and place into a very large bowl. You can finely chop with a large knife on a large chopping board, in batches. Or using a food processor if preferred, and also in batches (I have done it in my Thermomix, smaller batches, a few seconds on Speed 4-5)

Yes, ALL of this does eventually fit in that jar…and easily!
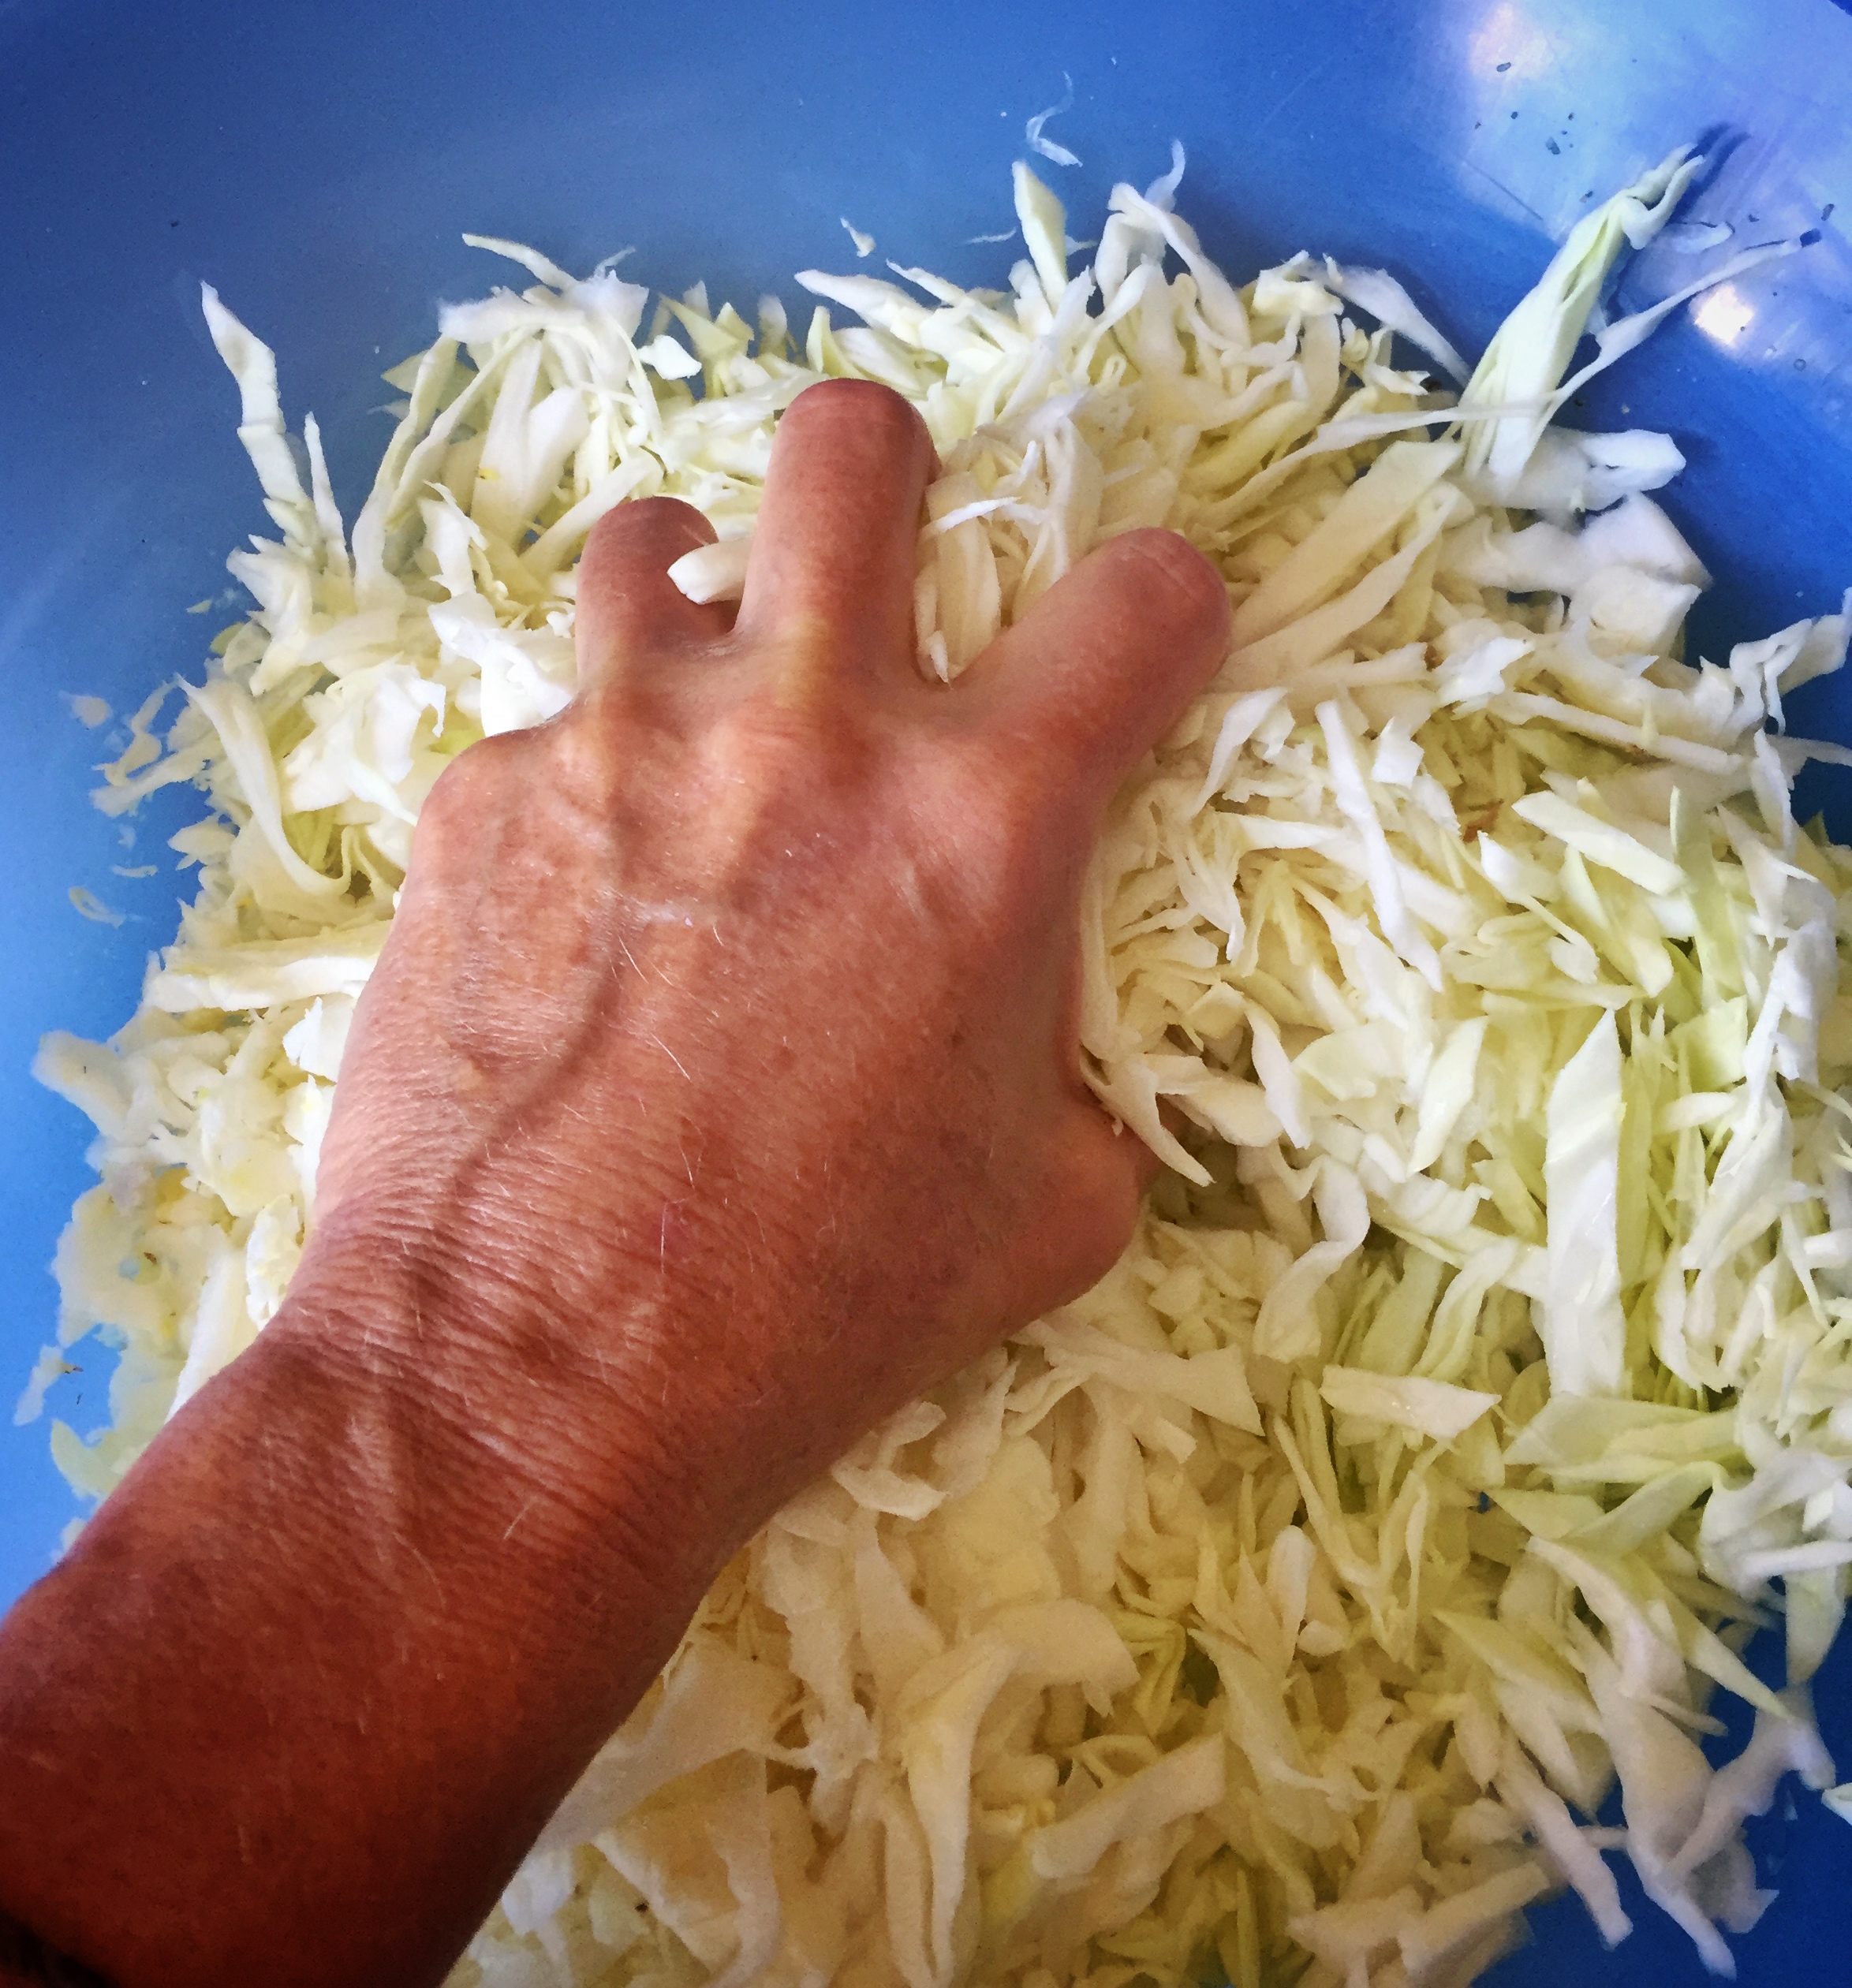
Step Three: Add the salt (*and any other herbs or spices you’d like to include) and now you gotta git yer hands dirty! So make sure they’re clean. You need to get both hands into the bowl and massage the salt though the cabbage (et al). Really squeeze it, crush the life out of it!  This is important to release the fluids (predominantly water) in the vegetable so that – combined with the salt you added – a brine can manifest. Give it a good couple of minutes… the longer, the better.
Step Four: Let it rest. Wash your hands, set the timer for 15 minutes and go have a cuppa or something. The magic happens here: the salt continues to draw the fluid from the cabbage, increasing the amount of all-important brine.
Step Five: Grab your jar and (with clean hands of course) begin stuffing the cabbage mixture in. Take a break when you think it’s lookin’ kinda full and start squashing the cabbage down to the bottom of the jar. As hard as you can. You are squeezing out as much air as possible and you’ll probably notice all of a sudden the brine is coming to the top.  Yeah! Keep going! Chuck more of that stuff in and keep pressing it down. Eventually you’ll reach the end and you should be lucky enough to have all of the mixture well below the level of brine.
Step Six: Those spare outer cabbage leaves you kept at the start? This is where they come in. Choose one and push it in, down below the brine, as level as you can, across the top of your original ‘kraut mixture. Again, you’re trying to get as much of the air out from underneath that baby as possible.  I often do it with a couple of pieces to make well-and-sure that my mix is well under the waterline. When you’re satisfied, tightly cap the jar. (Professional home-sauerkraut makers buy special weights to ensure the sheltering cabbage leaf stays down but… I’ve never felt the need…)
Step Seven: Date your creation (I pop little stickers on the lid, see pic below) and store for at least one week, maximum two, in a cool dark place (the back of the pantry is ideal).  After one or two ‘explosive’ experiences (not really as scary as it sounds, just pressure build-up..) I decided to sit the jar in a little bowl just in case there’s a Great Brine Escape (leakage).
When you’re ready to open it, discard the top cabbage leaves (and the excess brine if you like) and keep refrigerated. I’ve had opened jars in the fridge for up to 4 months!
Now I must stress this is not the most hygienic way to make sauerkraut (as I said, there is proper equipment available out there in the marketplace) but of all the batches I’ve made (I’d guess nearly a dozen?) in the time I’ve been doing this, I’ve only had one batch that failed. And I knew it simply because it just didn’t smell right. Trust your nose, People. Science tells us there is no better apparatus to recognise bad food, than our own noses.
If you’re wondering whose sauerkraut recipe inspired me, take a look at The Healthy Chef (Teresa Cutter)’s Polish Sauerkraut. If you’re not exactly sure what to do with your sauerkraut once it’s ready open, check out some of the meals I’ve used it in:
A Probiotic Toastie?
An Eclectic Rainbow Salad
Asparagus & Sprouted Lentils with Avocado Sauerkraut Mash

 I love this stuff! Probably because I know how good beetroot is for you. But this soup has other greatness in it too: onion, leek, carrot and cabbage. They’re all powerful anti-oxidant containing veggies. I particularly like veggies of the allium (onion & leek) and cruciferous families (cabbage) because they help to remove heavy metals from our bods (‘de-toxify’ us) but the old carrot’s beta-carotene (for vitamin A production) content makes it a valuable ingredient too.